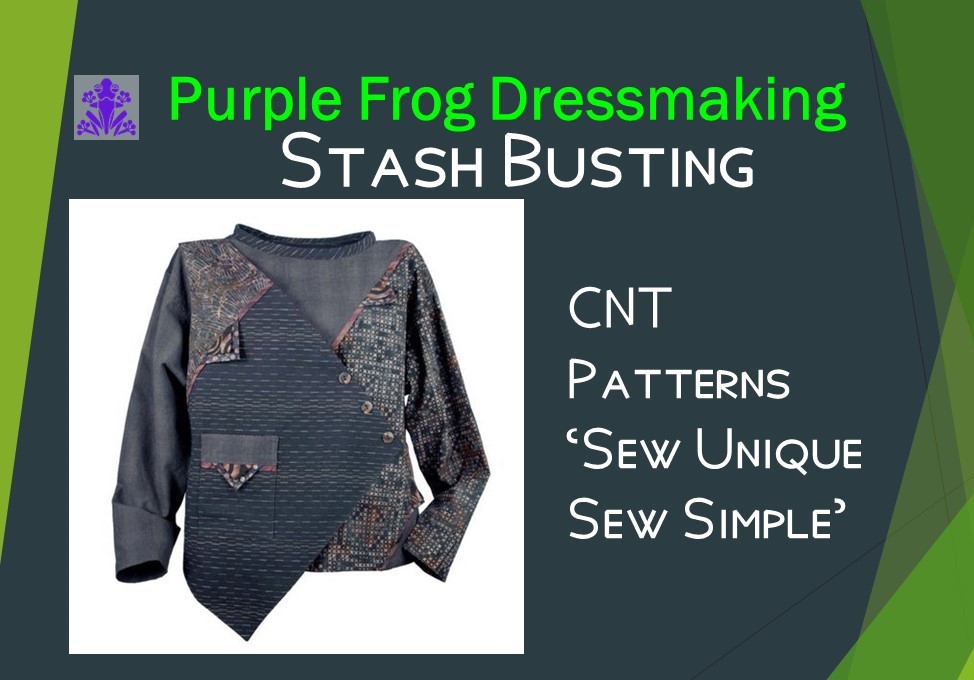
I purchased this pattern many years ago, it has been in my collection waiting for me to make it. I like it’s asymmetric lines and the potential to used odd bits and pieces of fabric in the construction.
I have chosen some some fabric from my stash – an orange linen blend with a random uneven stripe in red, some of the fabric has self coloured embroidered flowers.
There is no information about the fit of this top on the pattern wallet, but looking at the photograph of the made up garment , it is lose fitting and has no openings, and as it is deigned for woven fabrics, it must be lose enough to get on and off without difficulty. From my measurements I need the XXL size, this is the size I have cut out and will use this make up as a toile and make any necessary adjustments on future versions.
In common with the vast majority of commercial dressmaking patterns, there are very few techniques described – there is some advice about cutting out and piecing patterns together, and also a cutting out diagram for 1 fabric and for 4 fabrics (as the made up sample)
Although I was technically only using two fabrics, I did cut out some of the pattern pieces on the longways grain and well as the short grain. As several pieces we cut on the bias I was very careful to measure the grain line against the selvedge’s. I also marked each piece letter on the right side with tailors chalk as I cut them out.
The fronts and backs are pieced together first, I am an old fashioned dressmaker and always pin and tack pieces together before sewing. This was how I was taught and I have not been able to get to get the hang of pinning alone. Tacking also help stabilise the bias cut prices to stop them stretching when being sewed.
I stitched a seam using a straight stitch on the 5/8th seam allowance. My fabric is fairly loosely woven and has a tendency to fray, I tested several seam finishes before deciding on an overlocking stitch which looks like an seam produced on an overlock machine.
Again my concern was that the overlock stitch would stretch the seam that were on the bias.
Although there was a bit of a curl on the finished seam, once carefully steamed with an iron, they lay fairly flat.
By Steaming first, the stitches are set and there is less risk of stretching when pressed.
When the seams have been pressed they are top stitched 1/4 inch from the seam line.
Once the front and back sections have been formed the next job was to do the asymmetric over front. This is made up of two pieces for both the top fabric and the lining. The top piece also has a lined two piece patch pocket. Firstly I made the outside overlay by sewing the pattern pieces together and top stitching, made the patch pocket, placed it in position and top stitched. The bottom and front edge of the overlay is also top stitched. The lining is made in a same way. although it is not necessary I pressed the joining seam the opposite way to the outside piece and top stitched – doing it the opposite way reduces the overall bulk at the join.
The outside and lining overlays were sewn at the bottom, front and armhole edges, with right sides together; they were turned inside out. pressed and top stitched on the sewn edges. The Shoulders and side seams were left raw at this stage.
The front and back were attached at the shoulder and side seams on the left side and the Front back and overlay attached at shoulder and side seams, finished and top stitched.
The sleeve seams were stitched, finished with an embriodery stitch.. They were then set into the arm syce, finished, top stitched and hemmed. This is a change to the pattern instructions as they instruct that the shoulder seams are completed the sleeves attached and sleeve and side seams machined as a single seam.
I am not keen on the this method and prefer to make set in sleeves.
The neck edge was finished with a bias binding strip which is intended to stand up from the neck, I hand stitched the inside decorated with an embroidered stitch to match the sleeve and bottom hem. The last job was to finish with bottom hem which I machined machined using an embroidery stitch.
Pattern Review:
I read all the instructions all the way through before starting, I liked that there were pattern layouts for using with 4 different fabrics or just a single fabric. with the fabric numbers marked onto each fabric piece the pieces all went together logically and construction was straight forward. The most complicated element is making sure the fabric is cut out correctly and labelled, and that the bias cut pieces do not stretch when put together.
Fit:
Future adjustments:

